UP TO  

40% OFF

 · LIMITED TIME ONLY

5%

  off any re-order
Searching For The Perfect Patch Size!

May 22 2025

How to Sew on Velcro Patches: A Step-by-Step Guide

Sewing Velcro Patch Made Easy: Secure Your Patches Like a Pro

The Best Way to Sew Velcro Patches by Hand or Machine

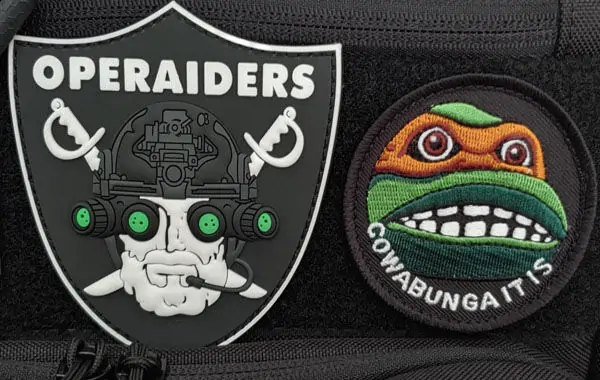
Velcro patches are a practical and versatile way to attach and remove labels, badges, or decorations from fabric surfaces. Whether you're customizing clothing, uniforms, bags, or gear, sewing Velcro on securely ensures durability through wear and wash. This guide walks you through the tools needed and each step to properly sew on Velcro patches by hand or with a sewing machine.

Step-by-Step Guide:

Tools & Materials Needed: Velcro patch (hook and loop sides)

1. Item to attach Velcro to (e.g., jacket, backpack, etc.)
2. Sewing needle or sewing machine
3. Thread (preferably heavy-duty, matching the Velcro color)
4. Scissors
5. Pins or fabric clips
6. Fabric chalk or washable marker
7. Thimble (optional, for hand sewing)
8. Ruler or measuring tape.

Step 1: Choose the Right Velcro

Make sure you have sew-on Velcro, not adhesive-backed (unless it’s designed to be sewn). Adhesive Velcro can gum up your needle if not suitable for sewing.

Step 2: Position the Velcro

1. Determine where you want to place the Velcro patch.
2. Use fabric chalk or a marker to outline the area.

Step 3: Pin or Clip the Velcro in Place

1. Use straight pins or fabric clips to hold the Velcro in place.
2. Ensure it lies flat with no wrinkles.

Step 4: Thread Your Needle or Set Up Machine

1. For hand sewing: Use a strong thread and double it for extra durability. Knot the end.
2. For machine sewing: Use a straight stitch with a heavy-duty needle (e.g., denim or leather needle if the fabric is thick).

Step 5: Start Sewing

1. Use a backstitch or whipstitch around the edges of the Velcro.
2. Keep stitches tight and evenly spaced for strength.
3. Machine Sewing:
4. Sew around all four edges of the Velcro in a rectangular pattern.
5. Optionally, sew an "X" across the patch for extra hold.

Step 6: Secure and Trim

1. Tie off your thread securely and trim any excess.
2. If machine sewing, reverse stitch at the beginning and end to lock your seam.

Step 7: Attach the Opposing Velcro Side

If you're attaching both the hook and loop sides to fabric, repeat the above steps for the second piece.

Tips:

1. Avoid sewing too close to the edge of the Velcro; about 1/8 inch in is ideal.
2. If sewing through thick fabric, use a thimble or pliers to help push/pull the needle.
3. Wash the item before sewing if it's brand new to prevent shrinking or misalignment later.

Share:

Privacy Policy Terms & Conditions Copyright 2023 nicepatches. All Rights Reserved.
May we use cookies to track your activities? We take your privacy very seriously. Please see our privacy policy for details and any questions. Yes No

Subscribe to our newsletter

Sign up to save big on all your custom projects
Promotions,customizing new products,tracking
order alerts,and more, delivered to your inbox

Enjoy 40% off your entire order,no code needed
5% off any re-order

Nice Customize Live ChatX
Sorry,we aren't online at the moment
Leave a message with your email address and your request and we'll get back to you.

Message

Upload Your Artwork

Allowed extensions *.png *.jpg *.jpeg *.ai *.eps *.psd *.tif *.tiff *.pdf*.bmp

Message

Thanks for your message.

I am Lisa, thank you for your interest in our products! This is the message number! [ ID M6015 ] We'll be in touch with you soon regarding the next steps. Usually we will reply you within hours. Please make sure to check your email for our reply. Our email address is "sales@nicecustomize.com" Thank you.